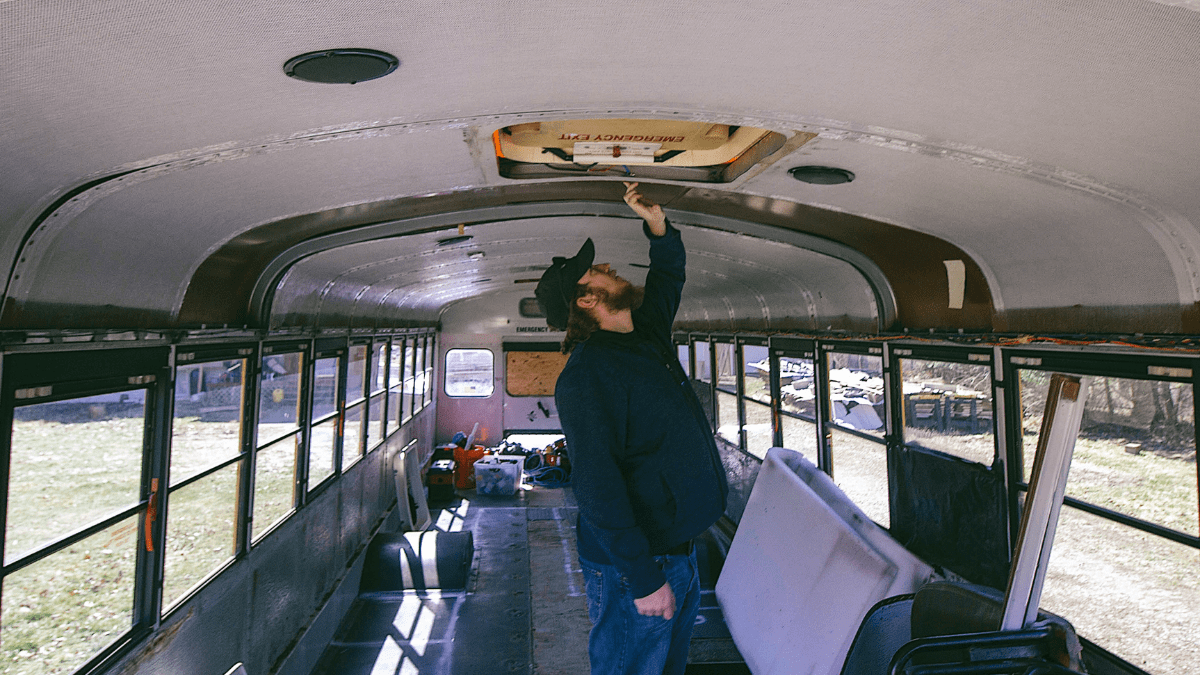
Happy Sunday! We’ve FINALLY gotten started on the #Bustav project and have actually gotten a ton done. Over the past few weeks we (aka, Levi) have been working diligently to rip everything out of the bus and prepping it for rust conversion.
Stripping
The first step in any school bus conversion is, of course, to get your bus checked by a mechanic and make sure everything is good. THEN it’s time to strip. No, not the fun type of stripping. I mean it’s time to pull everything out so you can have a fresh start. This means ripping up the floors, the ceiling, the walls–you get the idea. The problem is the sheer amount of screws that you have to unscrew to accomplish this. When I asked Levi how many he thinks he took out during this stage he said “I don’t know. Somewhere between five and seven billion?”
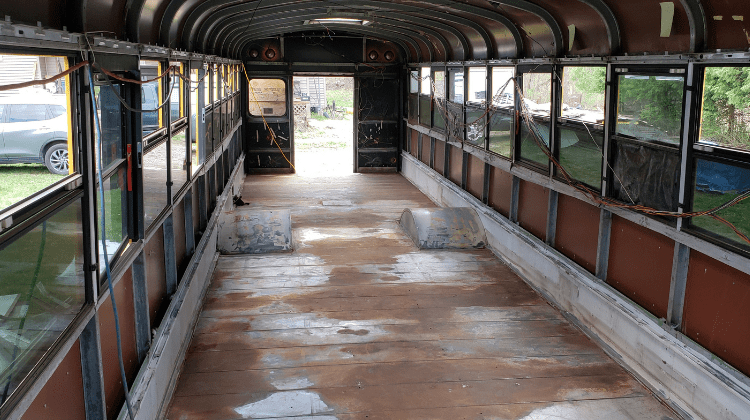
This is also the stage where we get to take a look at the skeletons in the closet. How’s the floor looking? Is there severe rust? How much money are we going to lose on this project? Luckily, ours didn’t look too bad and after hearing horror stories from other bus owners about what they found under the floor, we’re fairly happy. Some welding did still need to be done, but all in all, not horrible.
Welding
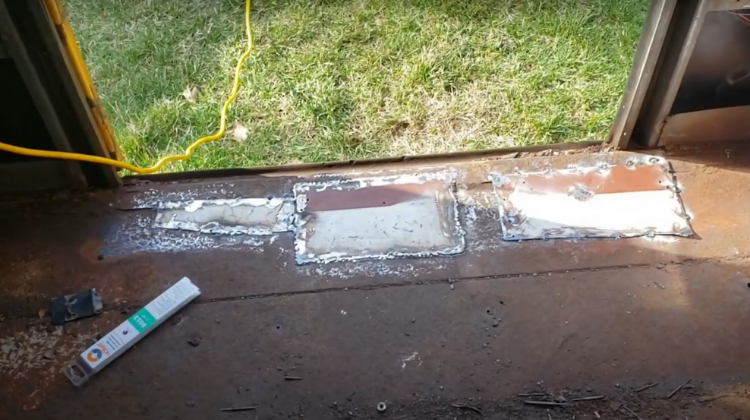
While the floor looked pretty good, there were still some spots that had rusted through. To fix those, Levi reused some of the interior metal from the walls to make patches and welded around them. He’s a little embarrassed by his lack of welding skills, but he’s better than me so who am I to judge? Later, we’ll be putting on Corroseal for the rust conversion and Rust-oleum Enamel to help seal everything up before adding insulation and subfloor.
Cleaning

After Levi got everything welded and looking a little prettier, it was time to actually clean up. We are keeping our bus a few miles away at his parents’ house and they don’t have any storage sheds for us to keep our tools/garbage. That means it can get pretty messy in the bus really fast. Levi wound up making a trip to the dump to take most of it, but they wanted to charge $121 just to take it, and we figured we could take advantage of a friend’s dumpster for free instead. So for now, most of the garbage is sitting in the yard under a tarp. BUT at least it is no longer taking up space in the bus.
After getting the clutter out, Levi took a wire wheel on the angle grinder to break up the rust and swept it into a garbage can (yes, he wore a mask Mom). Then, he swept, swept and swept some more before mopping it really good to prep it for the rust conversion step.
What is Rust Conversion?

Now that it’s all cleaned up and “pretty” it’s time to get to rust converting, which we’ll talk about a little later this month. Rust conversion, for those new to this world like me, is basically taking iron oxide and turning it into magnetite. The goal is to stop the rust, because you need a stable platform to work on and if you don’t remove it, the rust will continue to eat away at the platform. Rust = bad.
So in the next vlog/blog post, we’ll talk about rust converting, painting/sealing and getting started on the roof raise!
But until then, follow us on Instagram for real-time updates on what we’re doing to the bus and we’ll see you guys next time!


Great start! Boy, it sure is a lot of work and so many things I never knew existed!
LikeLike